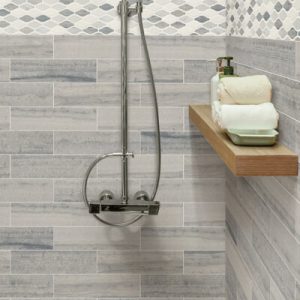
How to Install Ceramic or Porcelain Tiles
It is important to understand the layout of a room and its usage before selecting the right type of flooring for that room. In most cases, homeowners use tile floors for kitchens and bathrooms. Tiles have many types of stone, ranging from marble to travertine to slate, but they generally fall under ceramic or porcelain categories. After purchasing the tiles for a room, the next step to take is installing the tiles into the room of choice. This page from H & R Carpets and Tile will seek to provide guidance for the installation process!
Before doing any flooring installation on your own, it is always important to check with the manufacturer’s approved guidelines and confirm whether or not the installation is covered by warranty. This will help avoid any disputes related to manufacturer warranties.
Installing tile flooring can be segmented into 4 phases:
1. Plan
2. Set Up
3. Spread Adhesive, Lay Tiles
4. Grout
Plan and Prepare the Space
For the planning phase, you must learn about the material of which the existing floor is made. Plywood makes this process easier, but you may have to remove the base trim and the particleboard instead. This step will help when replacing the particleboard with plywood. One necessary tool that for this process is the Skil saw.
After replacing the particleboard, inspect the space, so it is attached to the floor joists. By this stage, the floor is ready for the leveling compound. You will need backer board made of fiberglass or cement, sized at 3 by 5 feet. This is so the tile does not pop off.
At this point, you should have measured the room size and distance of opposing walls. These measurements let you know the number of tiles you need to buy. If you have not done so already, you should also determine the tile sizes and patterns. Be sure to have 15% more tile than the square footage measured, since many of the tiles become cutoffs.
The last step in planning is making sure that the entire surface is smooth. Use a floor-leveling compound to float out any divots, holes, or differences in subflooring height.